Showing posts with label images. Show all posts

Sunday, August 1, 2010

More Inspiration Pages

In the few days that I've been gone, I've created 4 art journal pages. I know I've sort of been slacking on scrapbook pages, but I've decided that I'm going to focus on that this month, doing art journal pages in between. I signed up for a challenge on scrapbook.com called the Anything Goes Challenge and I hope that will encourage me to scrap more. I'm going to use my blog as a place to record the daily, weekly, and monthly challenges and that should help me blog more too! So let's get started with today's art journal pages. I'm not going to go into as much detail this time, but I'll still share pieces that I really liked about a particular page such as a color combo, a certain technique, a way I put something together, etc.

The first page is another page that has a quote on it, and, guess what, it's another TMNT quote. I know, I'm nuts, but I don't care! These are the things that inspire me, and I'm going to use them! The quote was something that Master Splinter said and it was: "Become One with the Shadows." I don't have the slightest idea why this gave me an idea for a page, but it did, and I like the finished product:


What I would like to share about this page is mostly the colors. I started out by thinking about the colors of the shadows; black, dark, dark, navy blue, etc. The yellow and white came about when I figured out that the page would be way, way, WAY too dark... I wouldn't even have been able to take a picture! And the pink letters were just because there was nothing else I had that would work! The technique that I would like to share with you about this page are the little white circles in the background. I actually started this page with a white base coat, then spread the dark blue on top. Then, using a wet baby wipe, I bunched up the bottom, plopped it down where I wanted a circle, and twisted. This was the effect it gave.
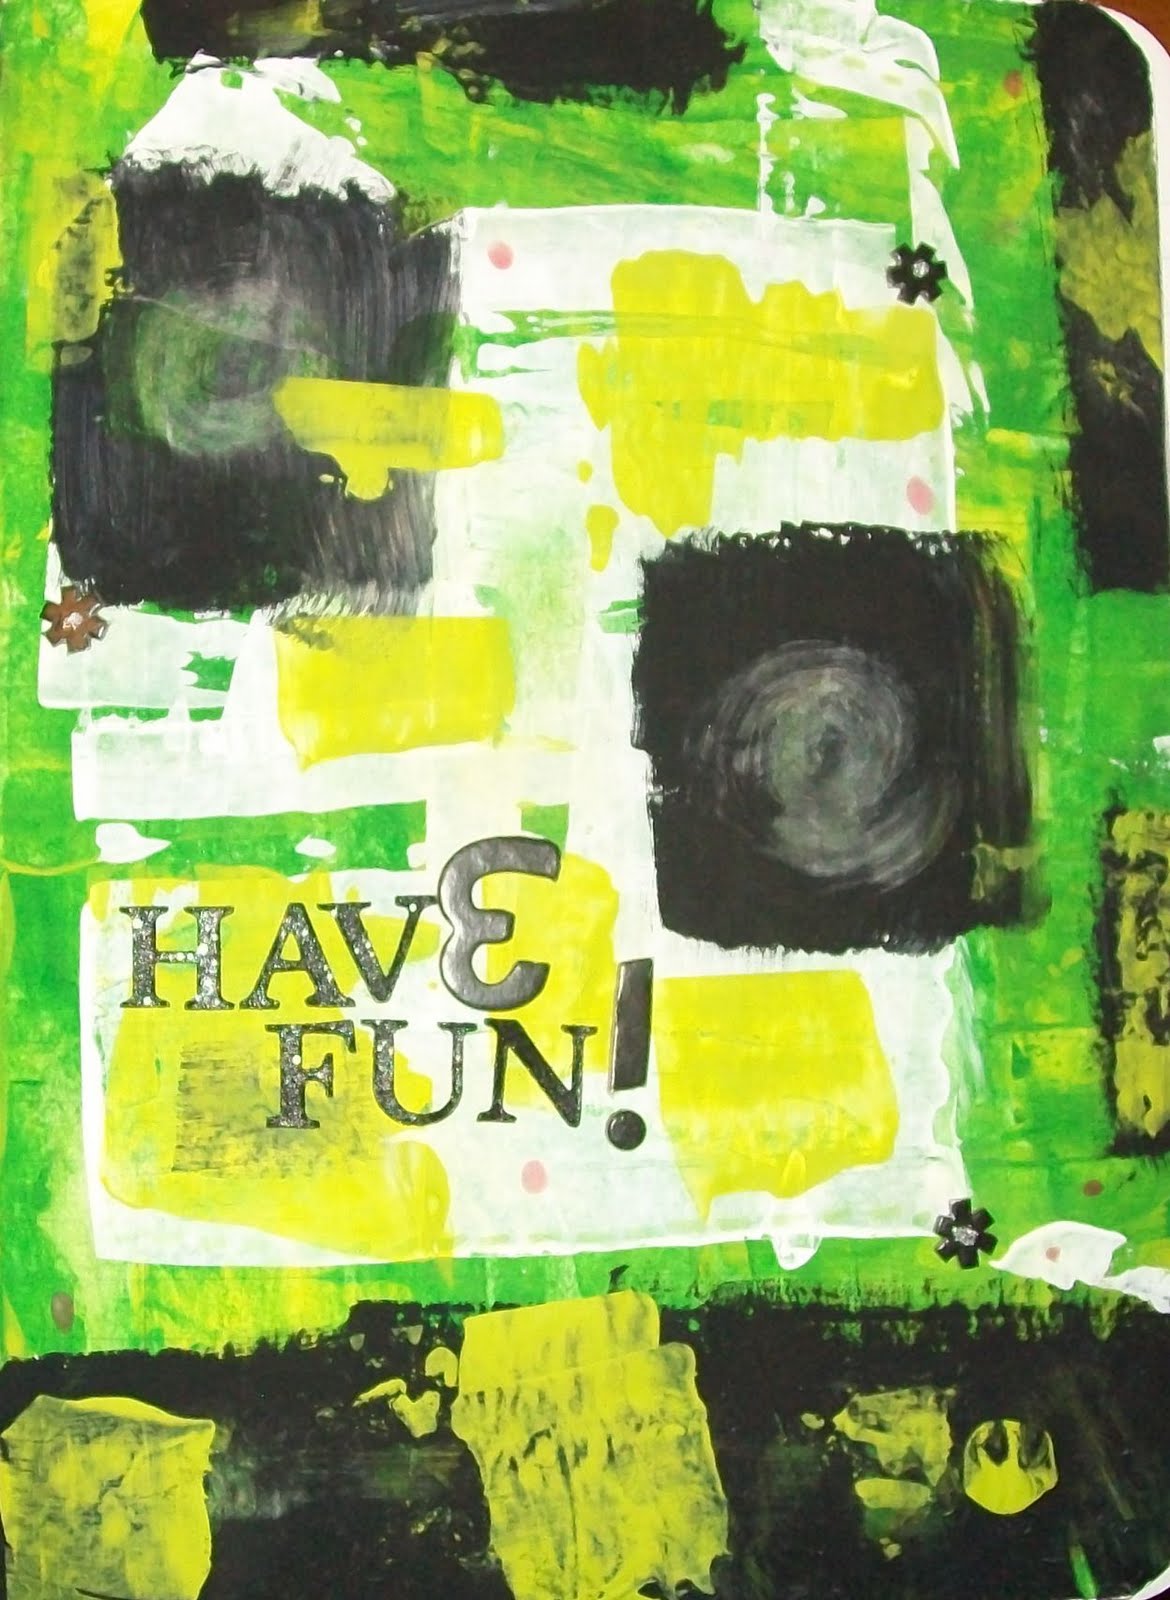


For this page I actually used the same technique as the previous one. Plopped down my baby wipe on wet paint and twisted to make little swirls. They actually remind me of comets for some reason. Might have to try a space page sometime. Hmmm. Anyways, the background was created by drizzling green, lime, and yellow paint directly onto the base sheet in my composition notebook and then scraping it around with an old gift card I just had lying around. The little 'flowers' are asterisks from a Thickers set with Stickles glitter glue in the middle and the capital "E" in 'have' is an upsidedown and flipped around '3.'


This next page is not my favorite page in the world. For real, it is one of my bottom pages. I had just received some fun goodies in the mail; Tim Holtz Distress Inks, Glimmer Mist and a bunch of stamps and some other ink pads. This was just me playing around with different techniques, trying to figure out how to make them work and finding interesting ways of using them. To start off this page, I painted the base white, then stamped an all over pattern with Pumice Stone Distress Ink. Then I Glimmer Misted the top. I layered torn and inked music sheet pieces, stamped some more images, then finished off the page with a title; the smaller letters are rubber stamps by Hero Arts and the bigger ones are unmounted acrylic stamps by Scrappy Cat.


The last page I have to share with you guys today is this one that reminds me a lot of christmas... and I know why!! The reason for this is because of the brown and the green; the colors of the christmas tree! This is a pretty simple page... lots of paint, layers, distressing, and stamping. With the darker brown circles around the stamped heart circles, that was me adhering the circles to the page with Mod Podge. I really like the way they turned out!

I definitely hope you were inspired by my pages, and hopefully I'll be back soon with some more and also some scrapbook pages!! See you soon!

~Jordan~

Saturday, July 24, 2010

More ATCs!

I just finished up all of the ATCs that I needed to complete for the swaps I'm in now. I received my newspaper ATC from the swap I was in and I absolutely love it! I've got about 5 ATCs to share with all of you guys today. 4 of them are rubber ducky ATCs and the other one is another elephant one. Let's get started!

I guess I'll show the elephant ATC first... I really like it! It just seems that even though the small size was hard at first, I got over that really quickly. Almost every ATC I've made since I've started again I've fallen in love with!


To create this ATC, I started with a white ATC blank. I then continued on to use a brown ink pad to rub over the top, giving it a soft distressed look and feel. I selected several 1" cardstock squares in 3 neutral colors, arranging them in a grid on top of the base. I stamped an image in the lower left hand corner and added a strip of paper tape measure that I distressed. Once the elephant is on top, the ATC is complete.


Coming up with ideas for a rubber duck ATC was a lot harder than expected! When I signed up for the swap, I didn't think that it would be difficult at all to create a good looking card to swap. Boy was I wrong! I had the toughest time figuring out where the best places would be to put the ducks - goodness, even finding images of rubber ducks was hard! But I finally found enough to create all of the ATCs I needed.


As you can see, this ATC has basically the same layout as the last one. They are the same for the most part, yet so different in so many aspects. The colors are very different, as are the images. I crumpled up the background and inked the wrinkles, added a scalloped strip and white circles. I also matted the ducks in a coordinating color and put stickle dots on the circles.


I have to say, I think this might be my favorite rubber duck ATC to date! I love how his head is so much bigger than his body... It's so out of proportion, yet so cute at the same time! The supposed stitching around the edges are actually marker lines and the blue tint to the "sky" is - get this - eye shadow! I saw a package of my eye shadow in the bathroom today and thought "wow... that looks an awful lot like chalk!" Sad isn't it? It was really light, but it worked for what I was wanting.


I did this one basically the same as the previous one as well. I thought that the images themselves were just so cute, and the first ATC that I made turned out so well that I couldn't help myself from making another!

Hope you guys enjoyed looking at my work and I'll talk to you guys soon!